Dry equalisation for freediving at beginner level (1/2)
Start dry equalisation for freediving
Part 1: Volumes and Locks

What is dry equalizing
We call “dry training” the principle of training outside of water. The interest is twofold:
- train more often, even when you live far from the sea
- train more intensively (you train more intensively during 30 minutes on land than half a day at sea)
Today we will talk about dry training related to the equalisation, and in particular for the “beginner” in the broad sense, that is to say the person starting to be interested in the principle of dry training for compensation. These are either people starting freediving at sea, or who get stuck at around 10-25m without really knowing why.
So I will try to keep it as simple as possible, but sometimes it will be necessary to go into technical details…
Required accessories
- Dry trainer or Otovent (see description below if you don't know what it is)
- mirror (or phone camera)
Why shall I equalise?
When you go down in the water you quickly feel a discomfort then a pain in the ear (even in a swimming pool). This is because the pressure in the ear (specifically the middle ear) becomes lower than the pressure exerted by the water. The eardrum, which is like a drum skin separating the middle ear from the outside, gradually deforms (it becomes curved), creating this pain. If we do nothing, it can lead to the tearing of this eardrum. A real pleasure...
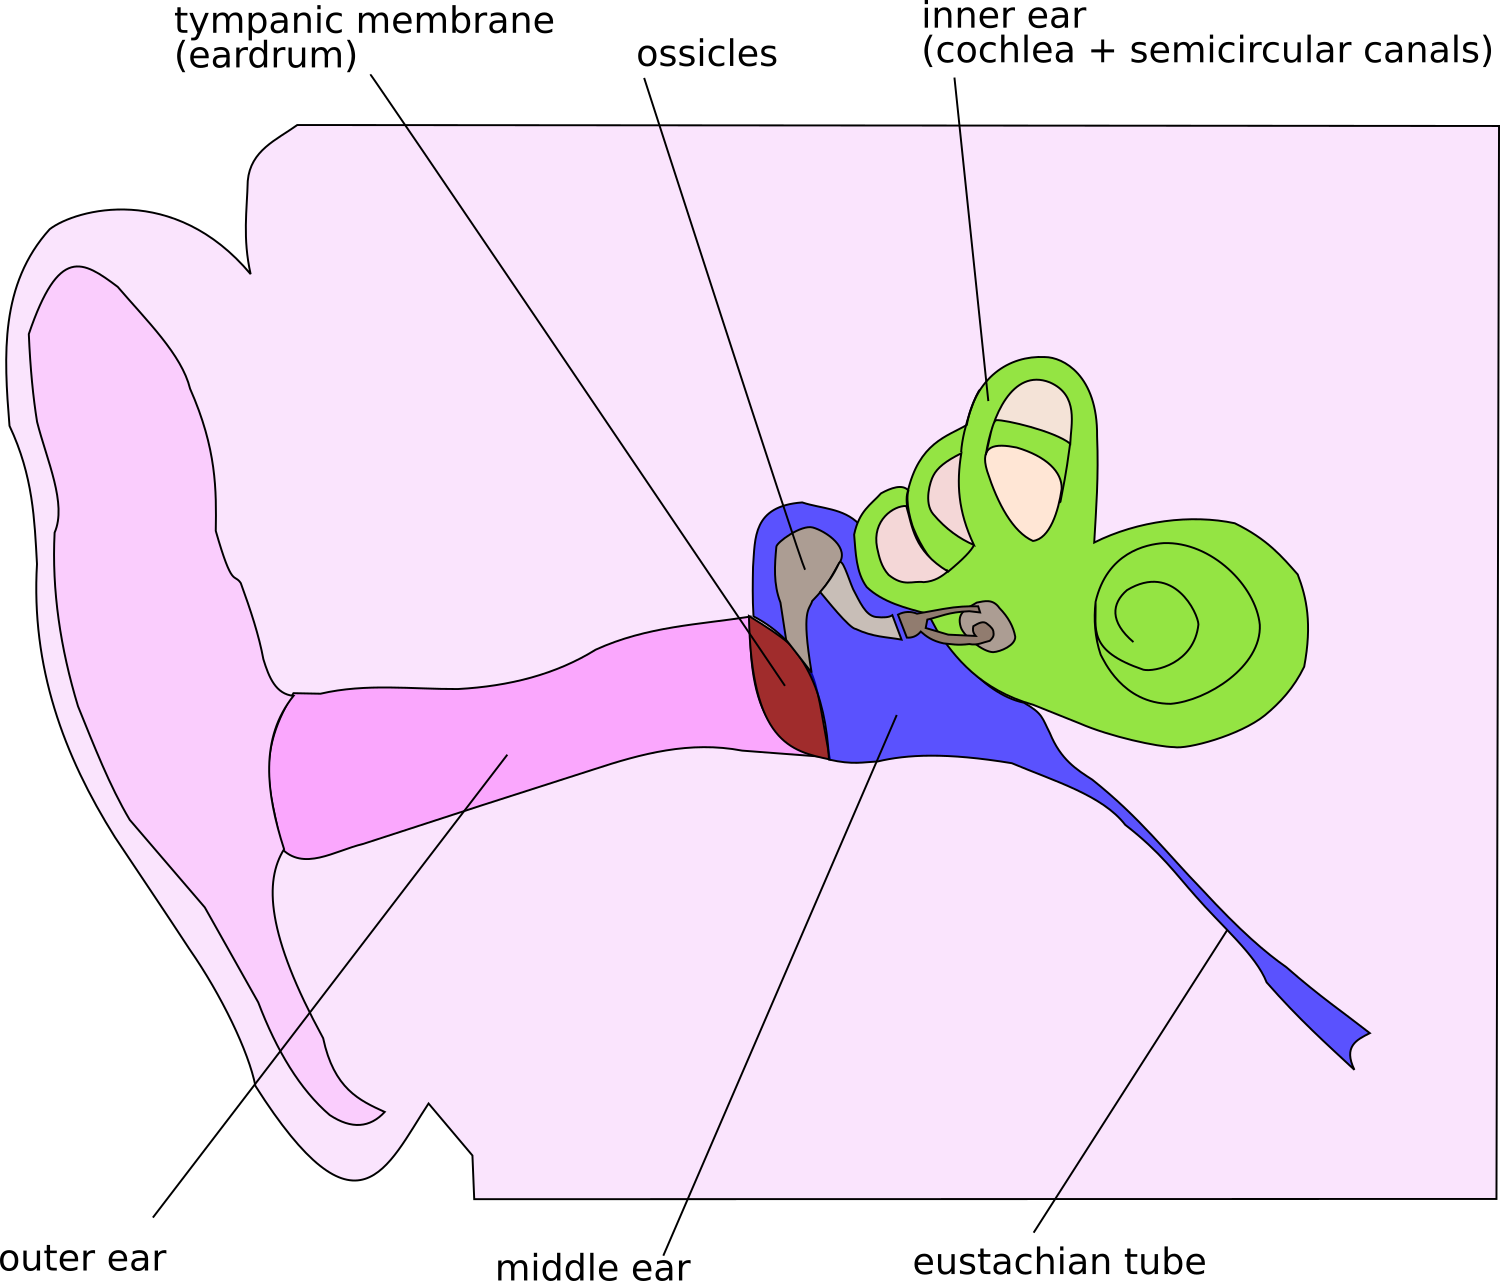
Equalizing consists in sending air from the nose to the middle ear, via two small two small tubes called "eustachian tubes". The air pressure increases in the middle ear until it matches the pressure around us. The eardrum returns to its normal shape and the discomfort (or pain) ceases.
Warning: if we continue to compensate, we end up curving the eardrum in the other direction. The sensation is similar except that this time the more we equalise, the more the pain increase. It’s all a matter of right quantity!
The main methods to equalise in freediving
Without going too much into detail, there are various freediving equalisation techniques:
- Vasalva : This involves equalising by using air directly from the lungs, via the thoracic muscles. We pinch our nose, we blow air into our nose without thinking too much about where this air comes from, and hurray! We equalise! Very popular among scuba divers (wrongly according to me but I will come back to this with more details in another document) This technique should be avoided when practicing freediving because it will not allow you to go deeper than 8-10m.
- Hands-free : We don't all have the same physiology. Some lucky people (10-20% of the population) have particularly wide and straight Eustachian tubes (you know, the little tubes!). A few small movements of the jaw or small, specific muscles allow them to open these tubes to balance the pressure without having to create excess pressure. A bit like when you swallow your saliva on the plane. Except thatin freediving this only works for a few people and very few of them can descend to more than 30m with this method.
- Frenzel: This is the go-to technique when you start freediving. So I will detail it a little further down. With a little training it will take you “quite easily” to 30-40m, or even more!
- Mouthfill or Frenzel Fatah : this is the experts' method. The one that leads to more than 100m. But it requires excellent self-control and is more dangerous than the "classic" frenzel because the pressure in the mouth is greater. It is therefore not recommended to start learning the mouthfill before being perfectly comfortable at 30-35m.. Especially since what we learn for the Frenzel will be used for the mouthfill.
You probably understood, today's exercises will aim to master Frenzel, and only Frenzel.
A bit of anatomy: volumes and doors
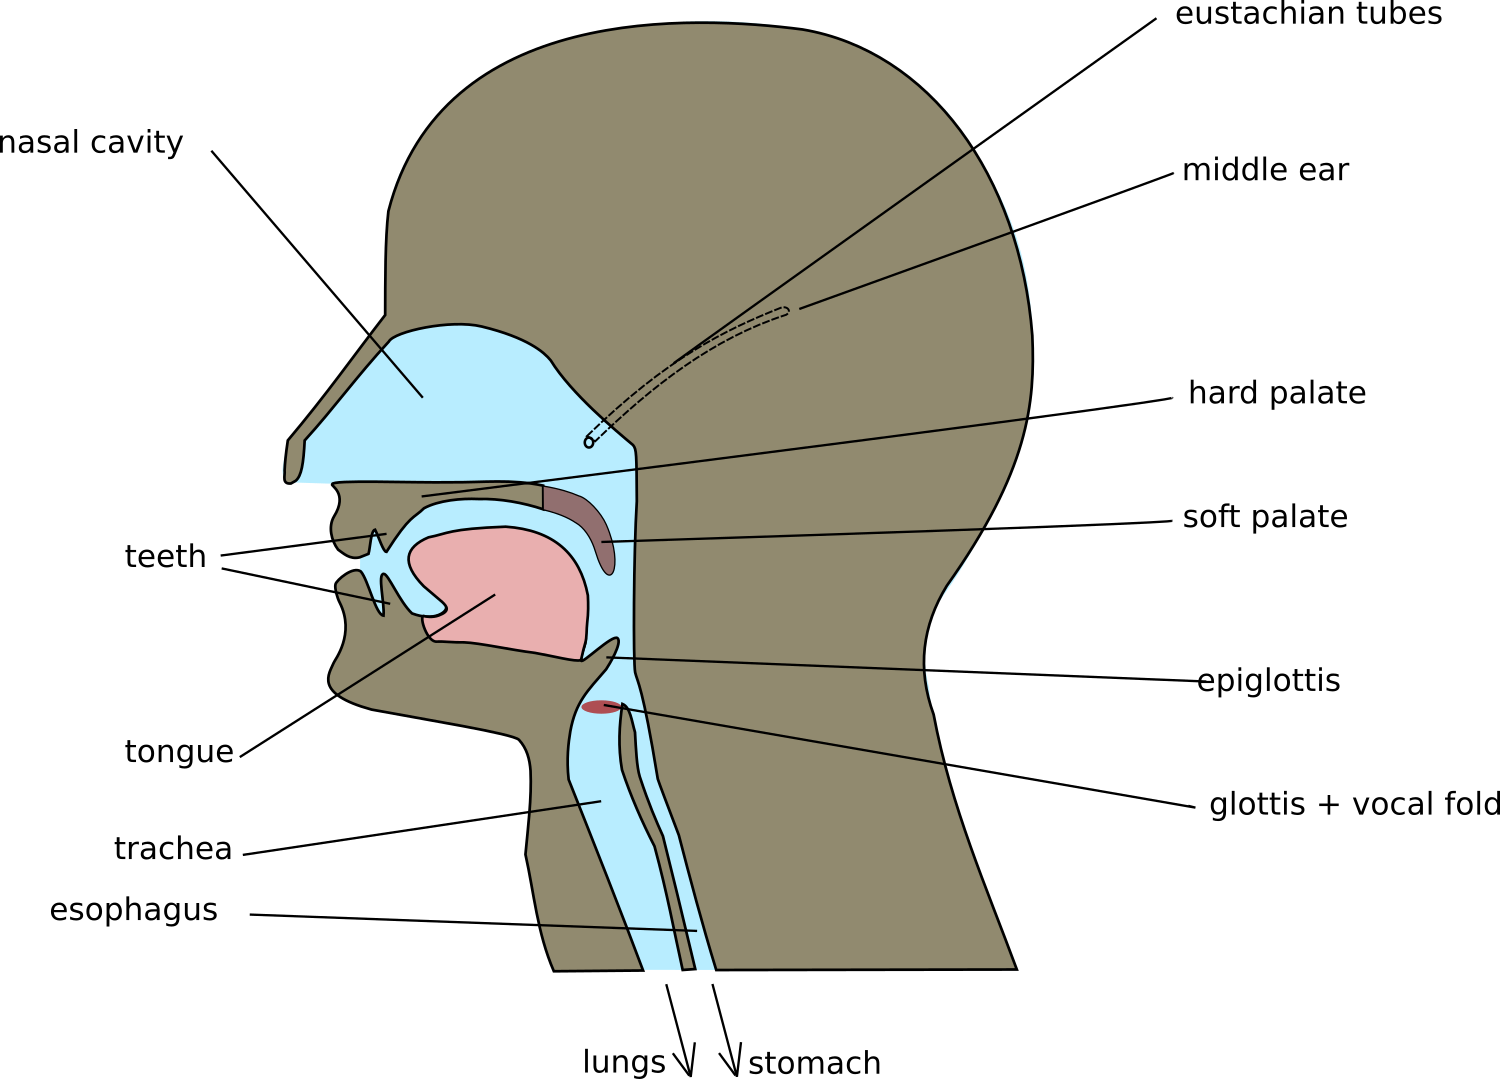
As we saw earlier, our breathing system can be split down into 3 volumes:
- the lungs (+trachea etc)
- the mouth
- the nose
Furthermore:
- the middle ear is connected to the breathing system by the Eustachian tubes (in the nose)
- there is a “gate” between the nasal and oral cavities: the soft palate
- and another “gate” between the oral cavity and the lungs: the glottis.
How to master the soft palate
We are a priori all able to open and close our soft palate. But probably no one has ever sought to do so voluntarily. That's what we're going to try to do...
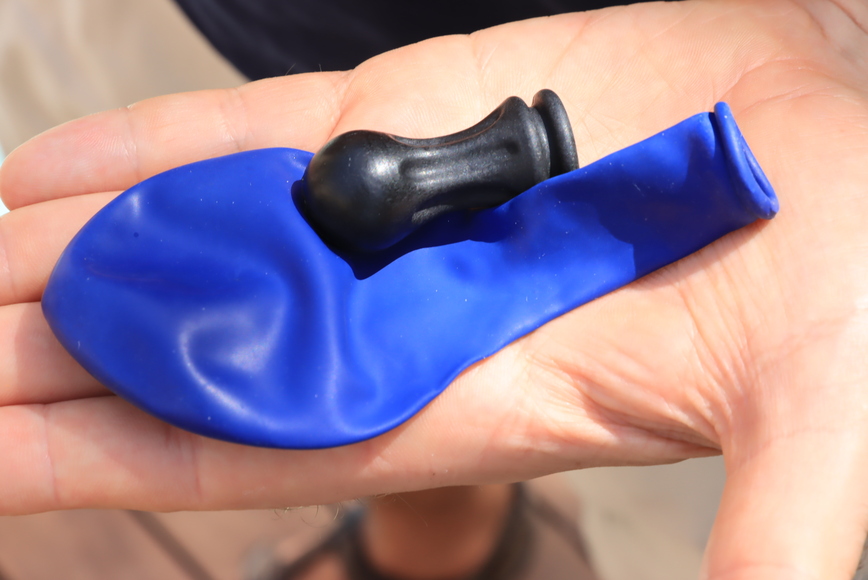
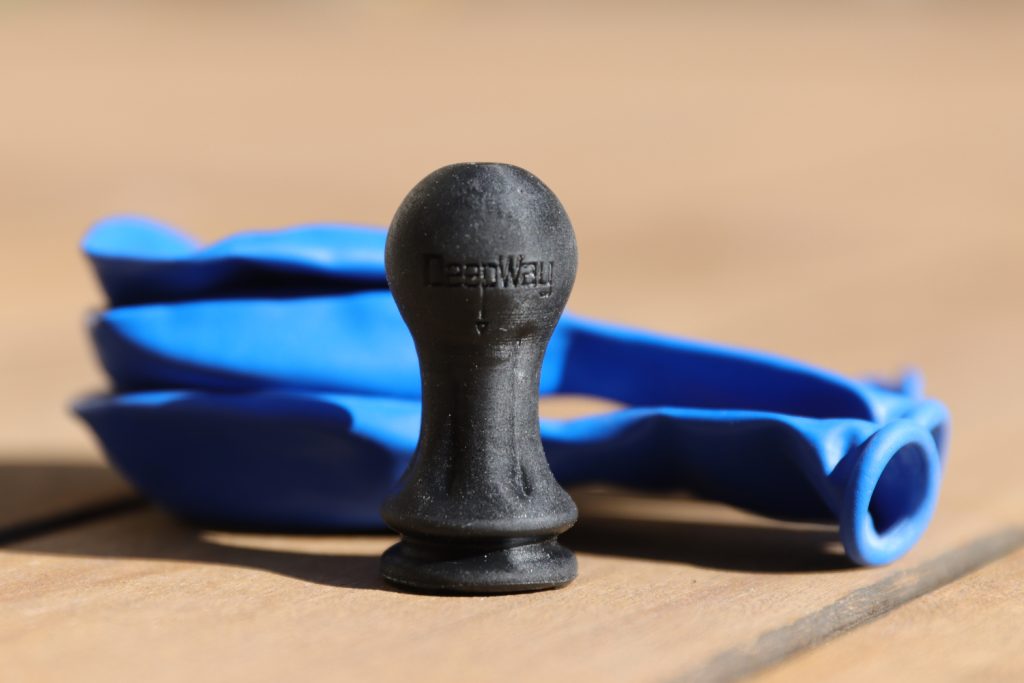
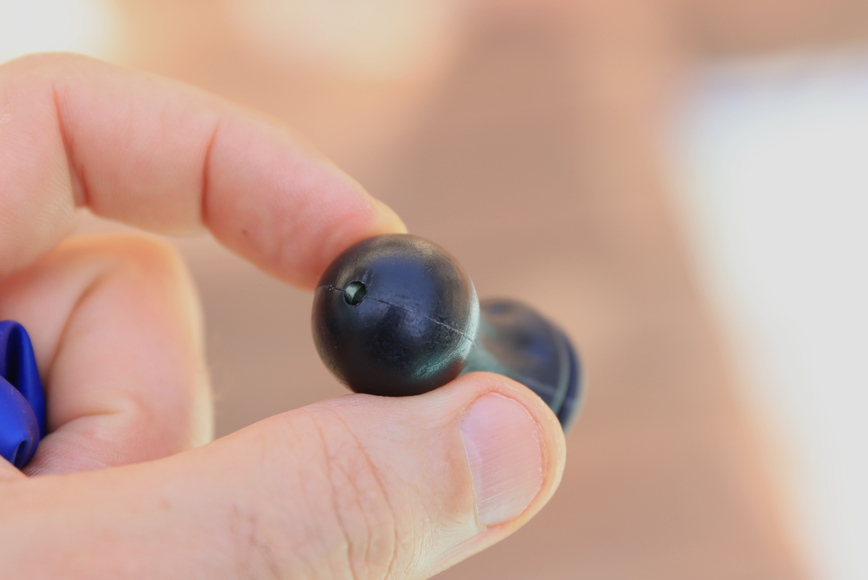
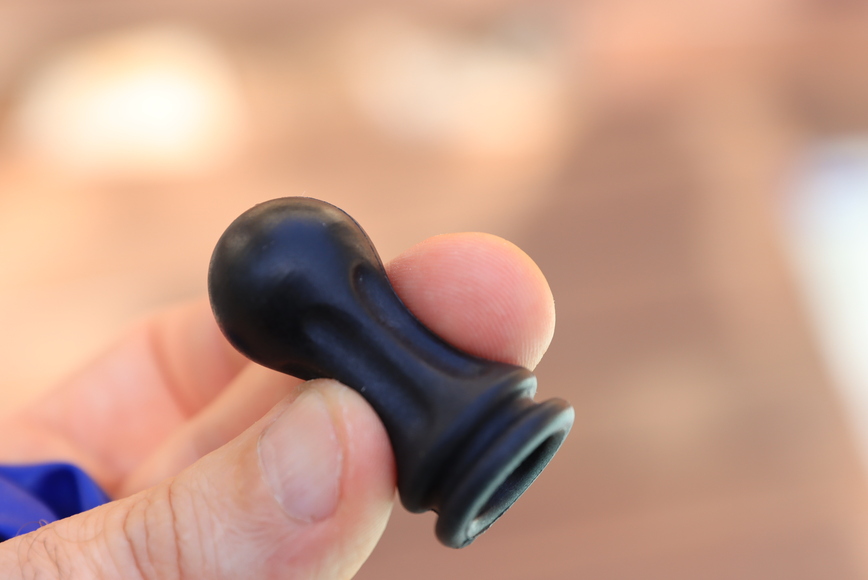
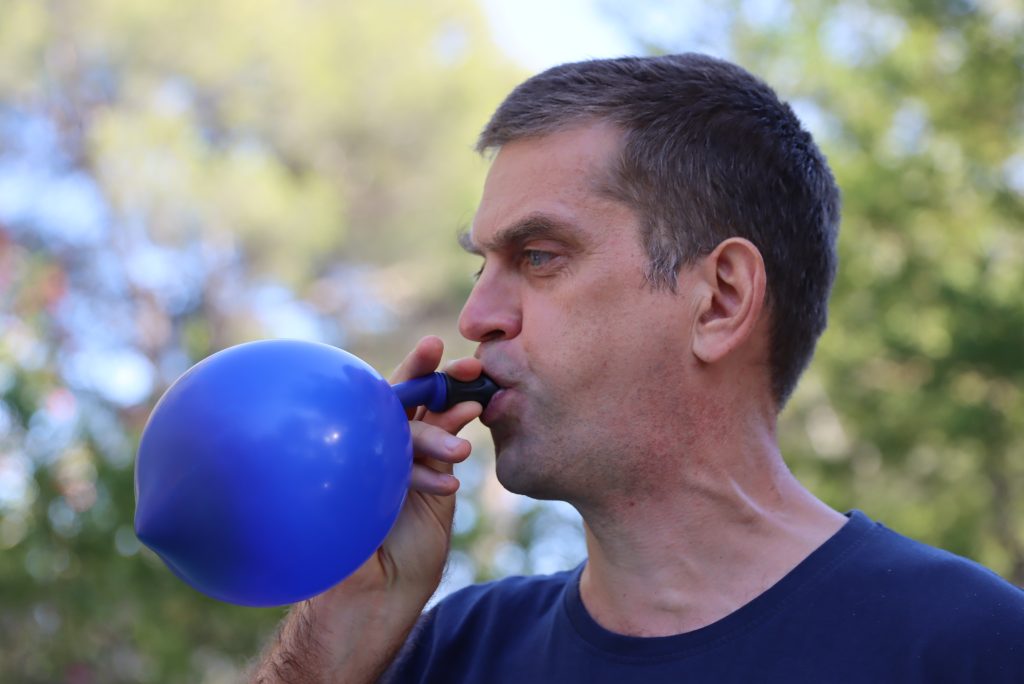
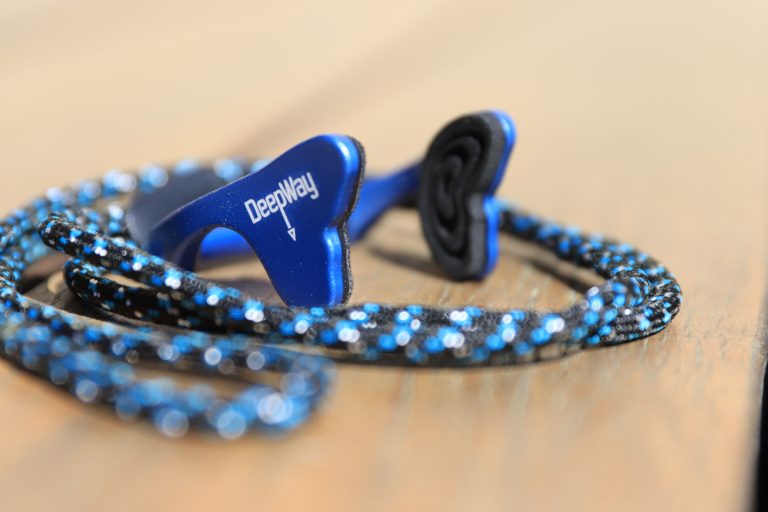
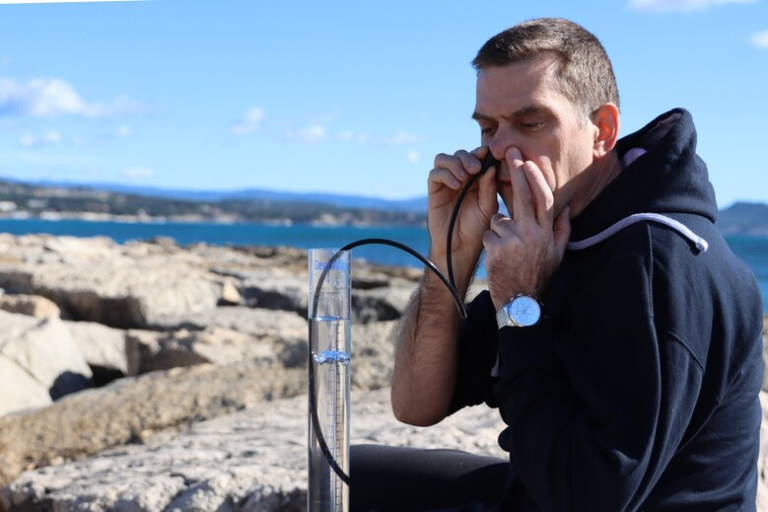
For this you will need an accessory similar to the one in the photo. You may know it as Dry Trainer orOtovent. You can find a dry trainer on this website or ask for an Otovent in pharmacy
Notice . If you buy directly from the Otovent brand, I advise you not to use the balloons supplied with them because they are much too stiff (they are not originally intended for freedivers but for a medical use). Prefer large balloons and as flexible as possible.
In addition, when the balloon is new, I suggest to inflate it 5-6 times before starting, in order to relax it.
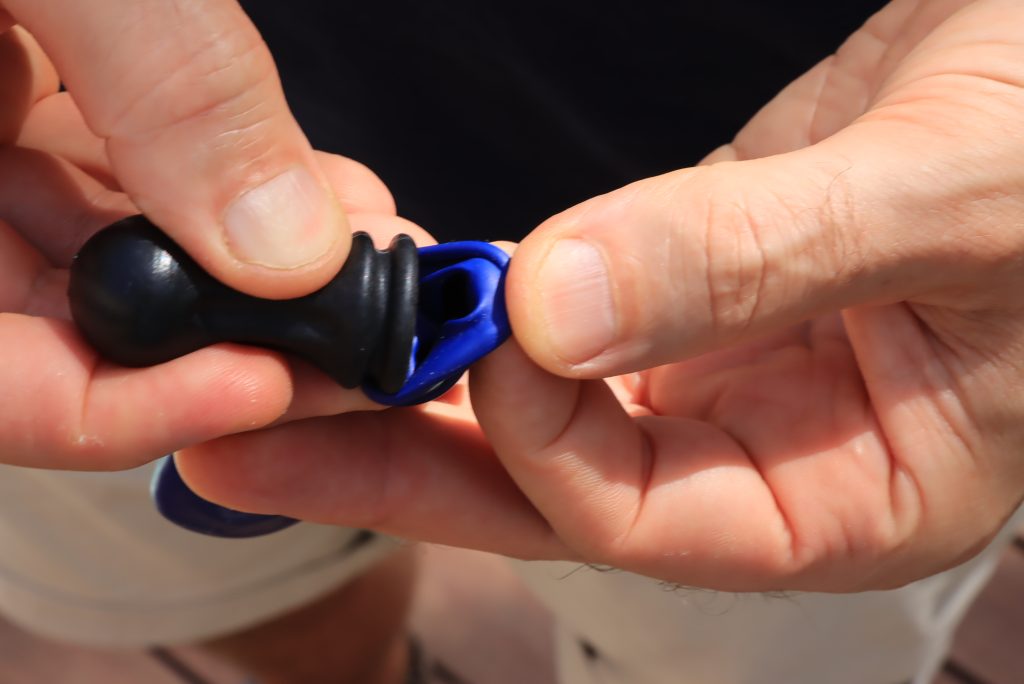
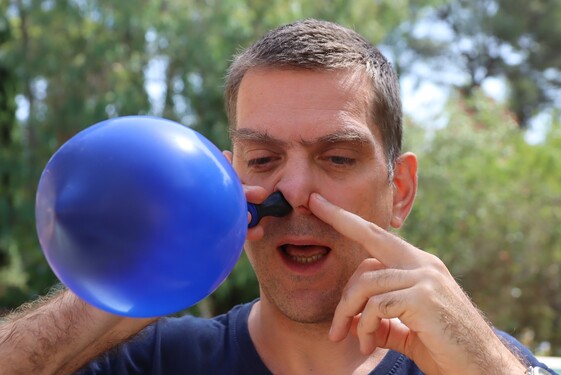
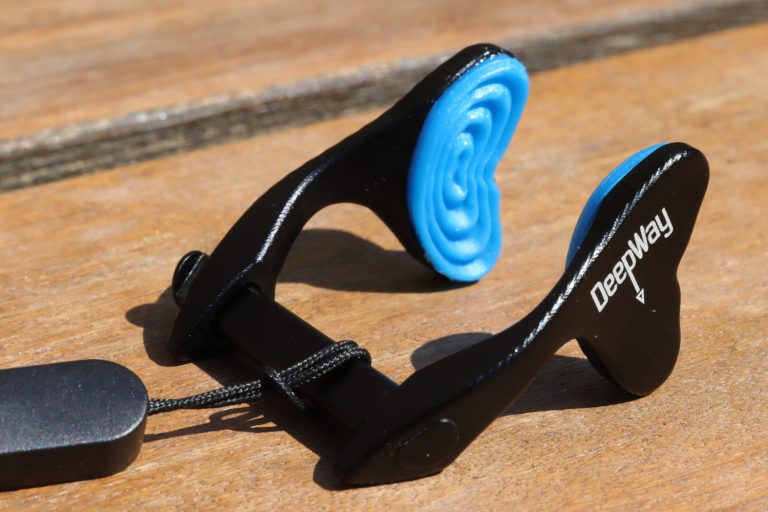
Exercice 1 : place the balloon on the tip, between the two grooves at the bottom of the photo. Inflate it (without pinching your nose). Air isn't escaping anywhere? This means that you have unconsciously closed your soft palate. Try to stay like this for a few seconds. You can also do the same exercise without a balloon, because when you inflate a balloon you subconsciously close your glottis. The interest of the mouthpiece is that the balloon thus always remains open, whereas usually you certainly pinch the balloon with your fingers or your lips, to take a new breathe.
Exercice 1B : Inflate and hold the balloon as in exercise 1. Then, while leaving the tip firmly sealed on the lips, ensure that all the air in the balloon escapes through the nose. You succeeded ? Cela signifie que vous savez ouvrir votre glotte !
Exercice 1C : We stay in the same spirit, but we take it a little harder: repeat exercise 2 but only let out a little air. Then block again, open, block etc. until the balloon is deflated. Try to have the “neatest” closures possible.
Repeat these three exercises several days in a row to be sure you master them.
Exercice 2, 2B, 2C :We're going to do the same thing but in reverse direction: inflate the balloon and pinch it so that no air escapes. Then place the tip against one nostril while holding the other nostril closed. Finally, stick out your tongue to be sure that it does not prevent air from escaping.
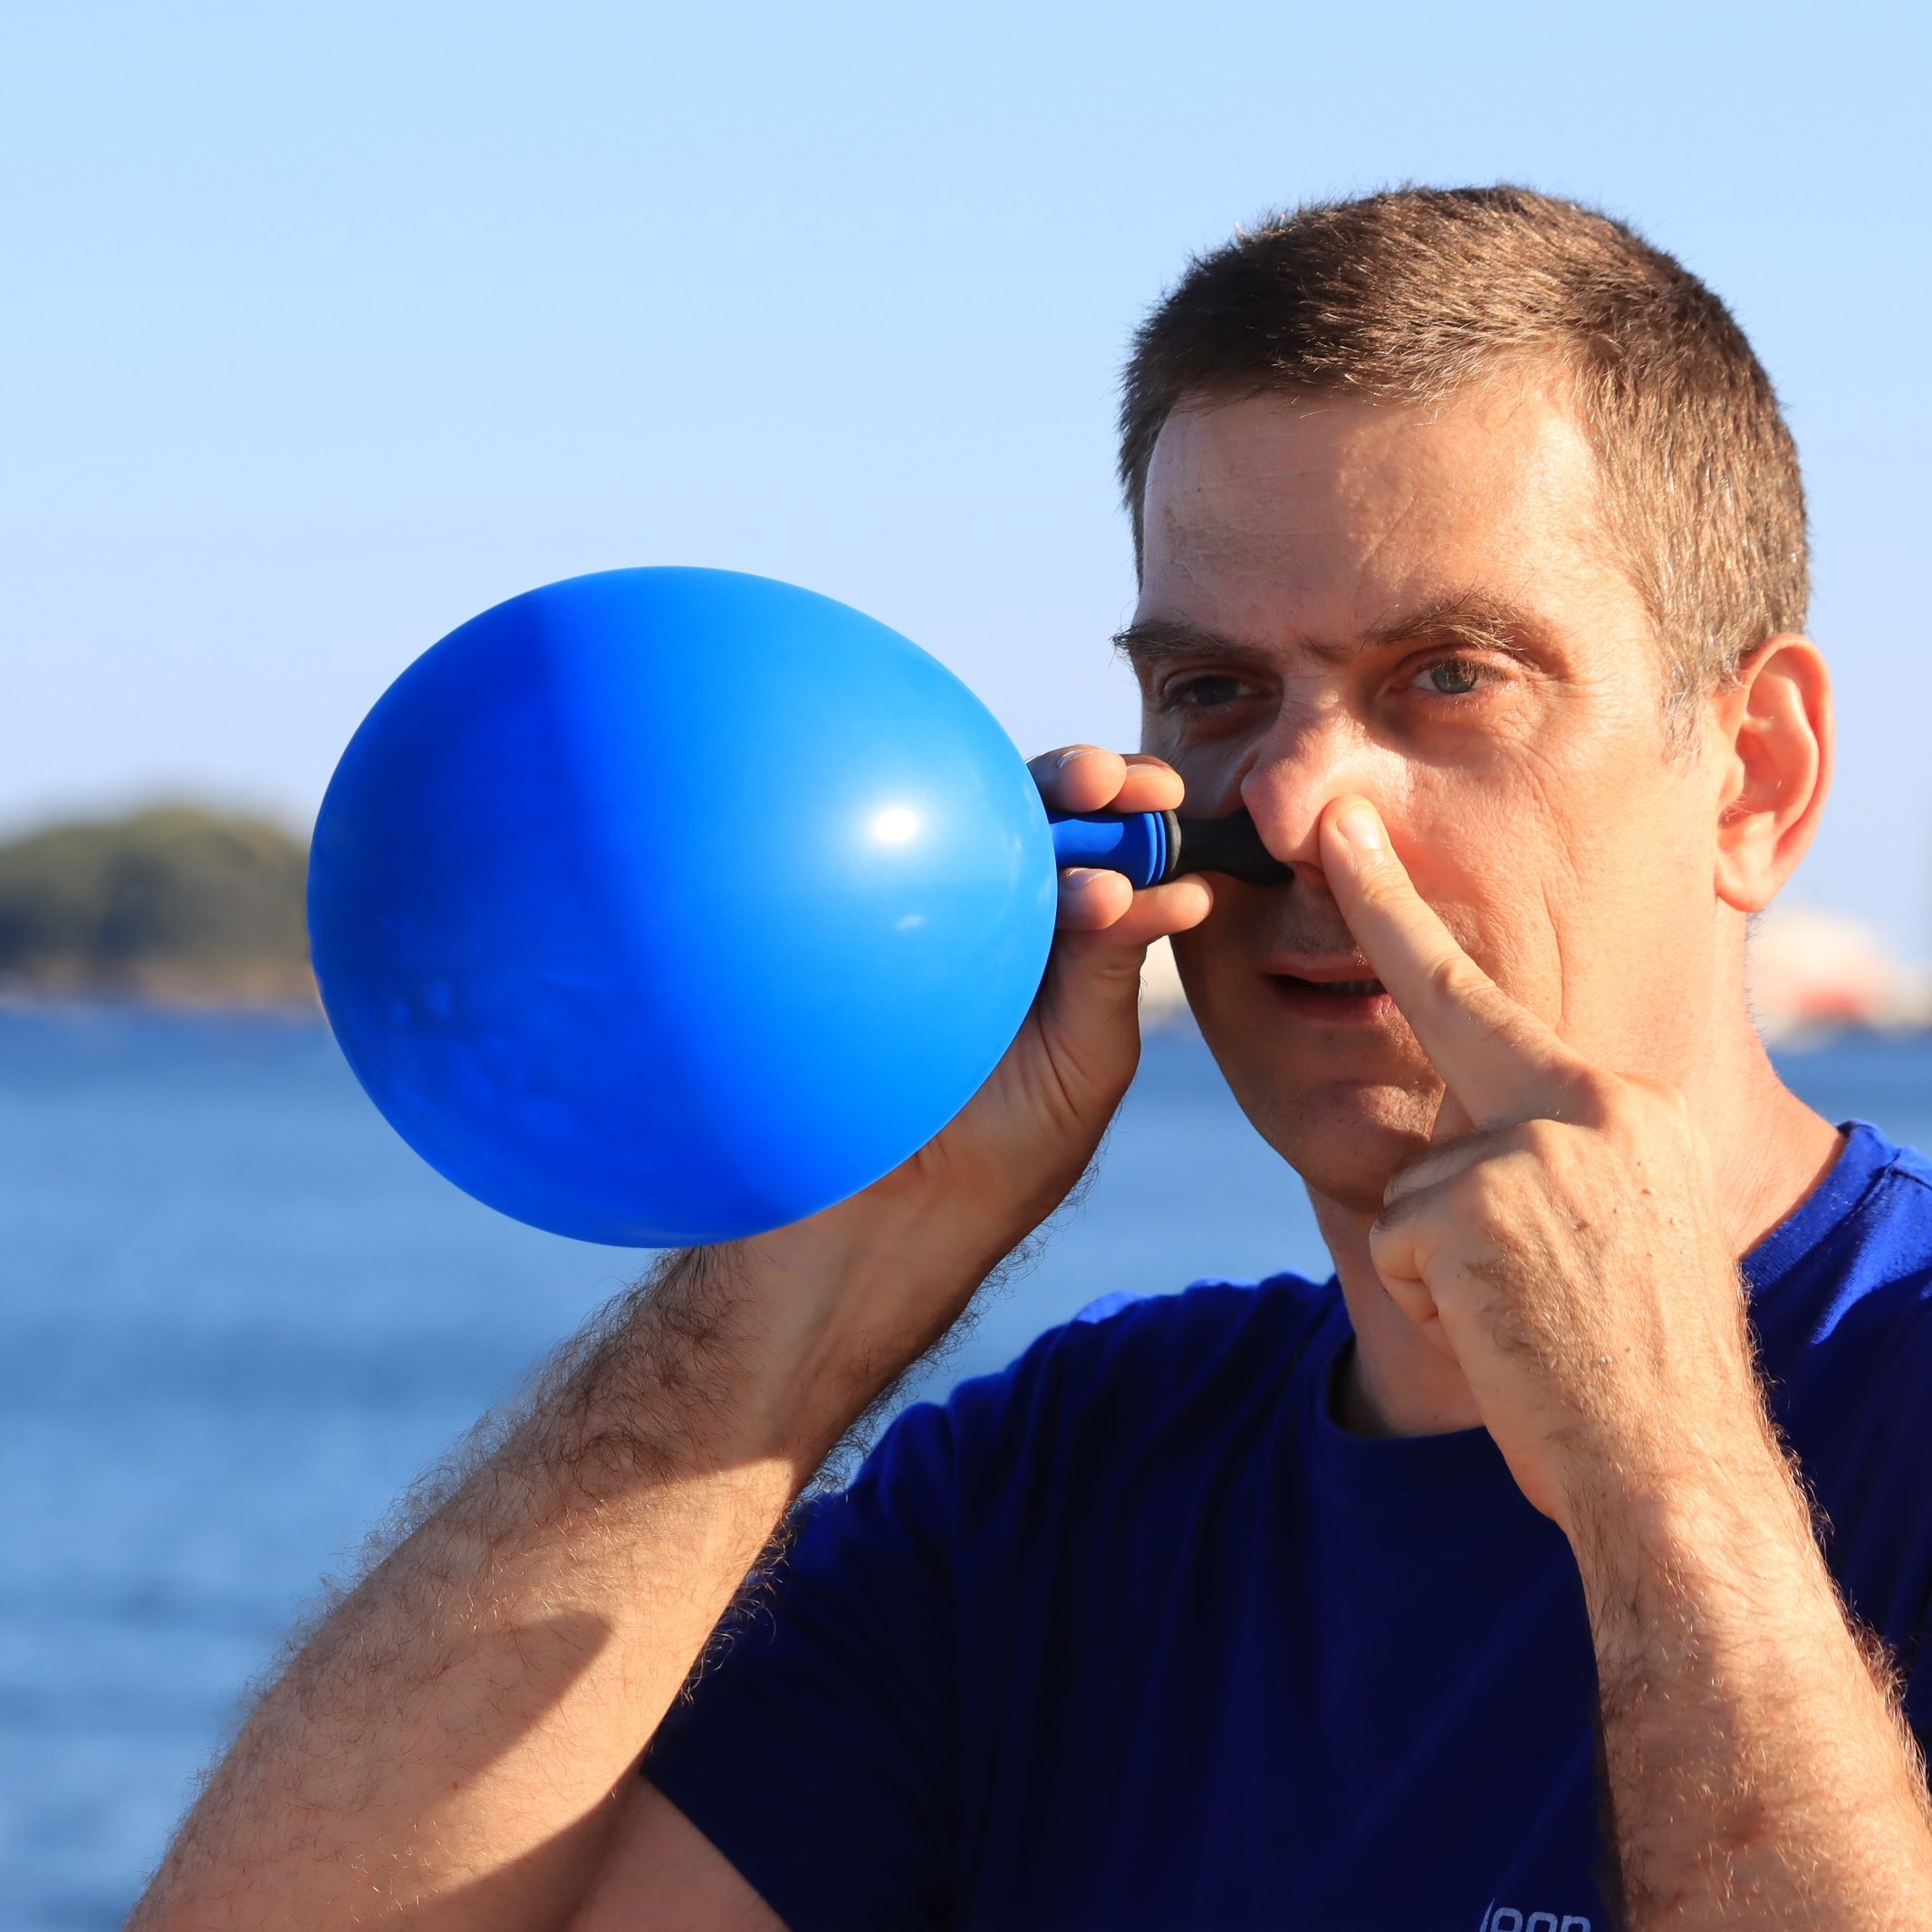
- Exercice 2 : Stay still, tongue outstretched: the air must not escape
- Exercice 2B : While holding your tongue outstretched (this is important!) "make" the air escape through your mouth (which means you have opened your soft palate)
- Exercice 2C: Let out some air. Then block again, open, block etc until the balloon is deflated
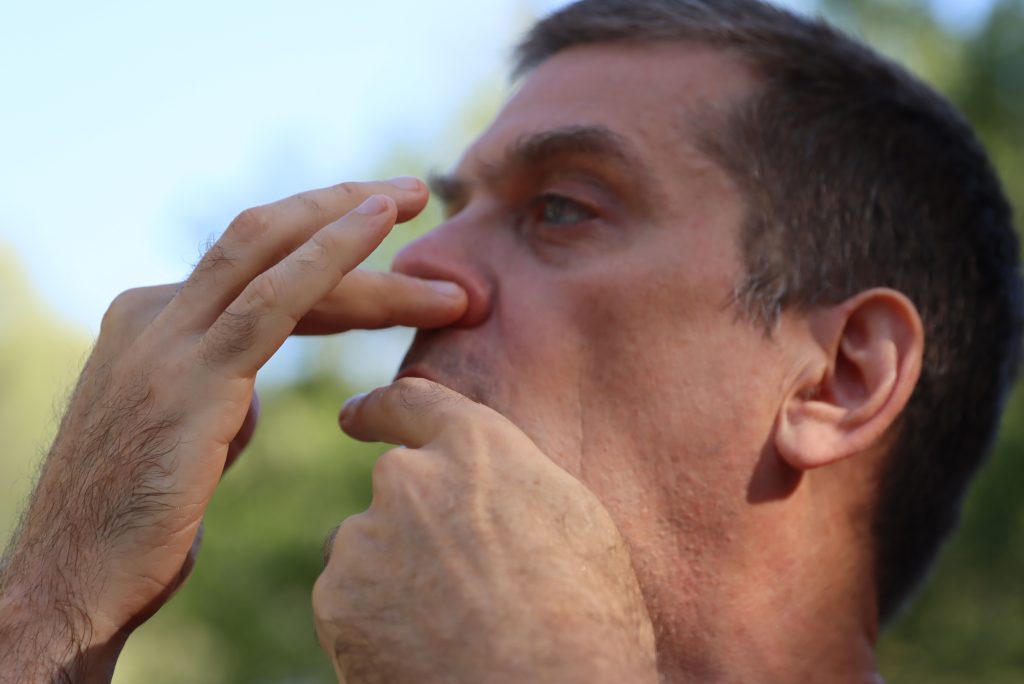
Exercice 3 : Neutral position of the soft palate: Place two fingers of one hand in front of the nostrils, and one finger of the other in front of the mouth, to feel the breath. Say “OOOOOOOOOH” while exhaling through your nose and mouth at the same time. Try to get breath into all fingers.
Note: It is likely that during this exercise you will find that very little change is required to direct air to the mouth, nose, or both. It's very subtle...
This exercise is quite difficult to master, and therefore not really within the reach of a beginner. Nothing to worry about if you can't. However, I am talking about it now, because it shows the required subtlety.
How to control your glottis
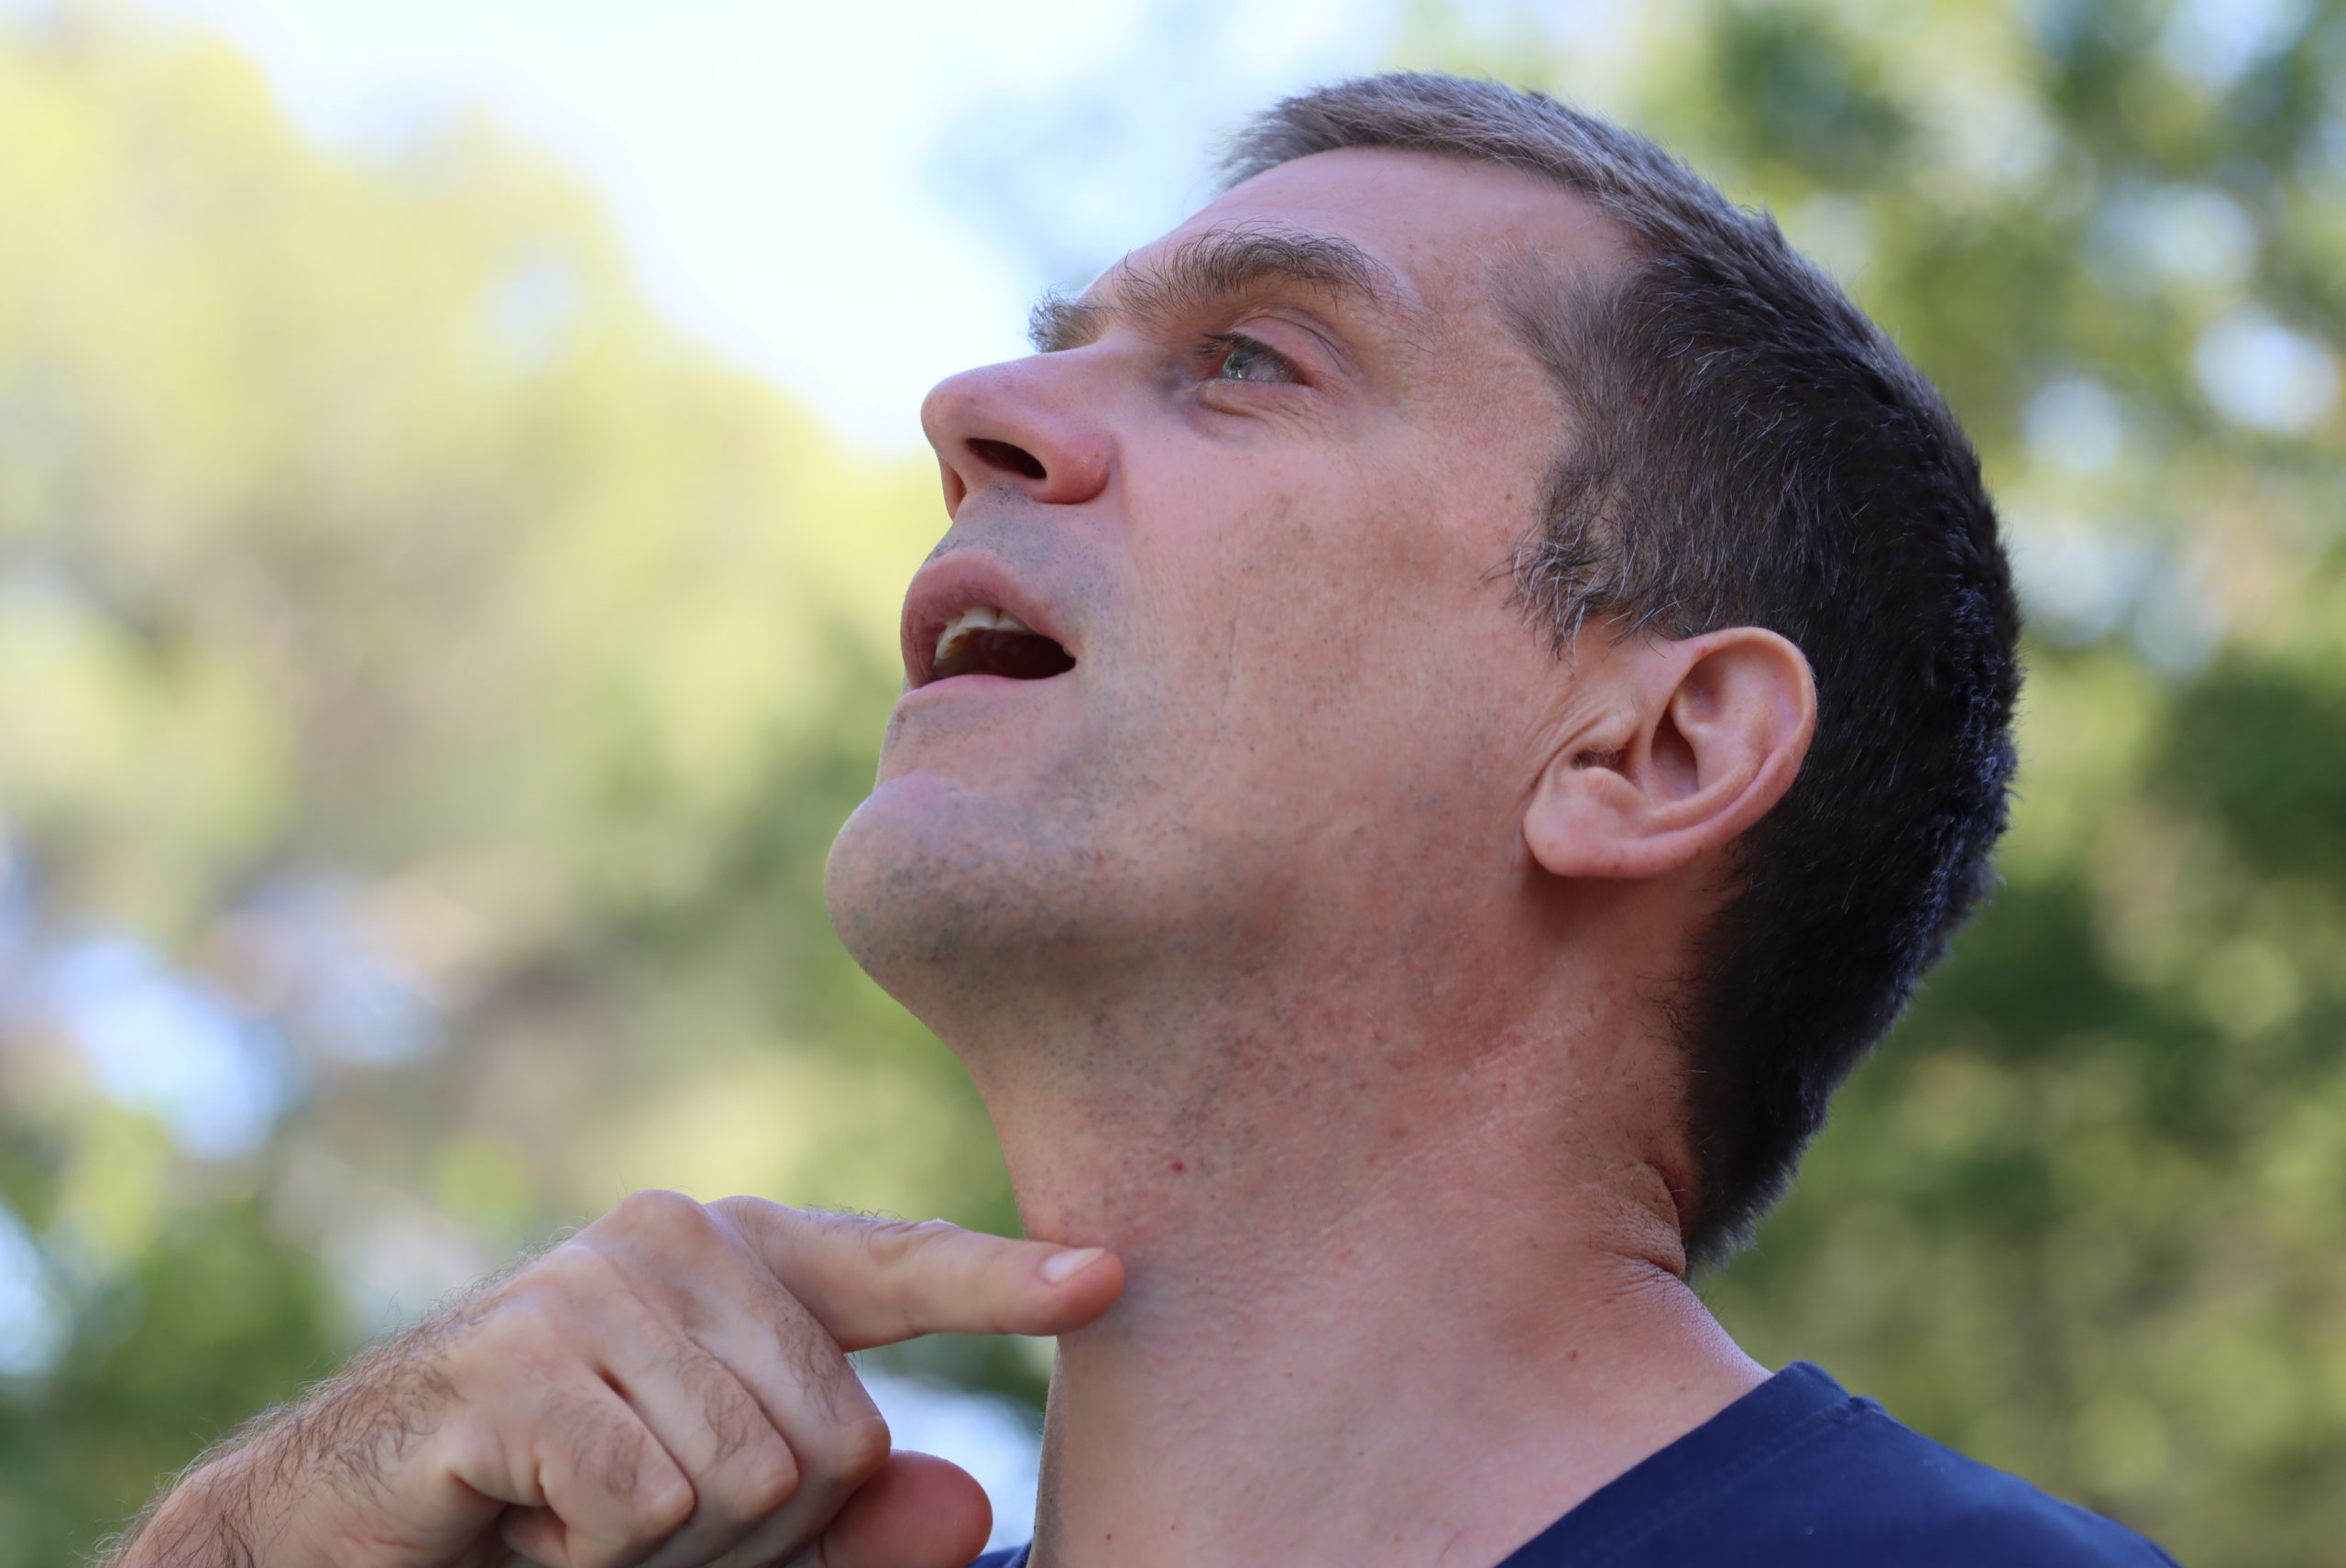
Exercice 4 : take a glass of water (if possible from the fridge to feel it better). Take a good sip and hold it at the back of your throat (as for a mouthwash).
Did the water stay there? Good news, that means you know how to close your glottis, because it was she who prevented the water from going further down. If you have taken cold water, you can feel where the cold sensation stops. The lowest part is where your glottis is located. Stand in front of a mirror and try to identify the location
The difficulty now will be to open and close your glottis voluntarily and keep it perfectly closed for a few tens of seconds.
Exercice 5 : Stand in front of a mirror. Fill the lungs, place your tongue down, mouth open, and place a finger horizontally on your Adam's apple. Exhale slowly while pronouncing the sound “AAAAAA”. Then try to block the air where the water stopped. Check in the mirror that it is indeed the glottis and not the tongue that is blocking the air:
- you should feel your Adam's apple rising and falling (or see it rising and falling in the mirror)
- your tongue should remain flat and still
Variant : If at first you cannot keep your tongue at rest, start by doing the exercise with the tongue outstretched and downwards. This is less similar to what we are trying to do, but at least you are sure that the tongue will not obstruct the back of the throat.
Exercise 5B : same thing but in the opposite direction (therefore by inhaling slowly).
Note: Dissociating tongue and glottis is often difficult. We generally tend to do a mixture of the two. Focus on the geographical area of the glottis and check the result in the mirror
Exercice 6 : Empty the lungs partially or completely, depending on your comfort, as if doing an Uddiyana bandha (yoga posture). Block the glottis, lower the diaphragm and open the ribs with your mouth open and your tongue lowered, without letting air in: you should feel that it is pulling on the glottis.
Repeat these exercises 4-5 times each and several days in a row.
Once you have mastered soft palate and glottis control can you begin our next series of exercises:
Dry compensation for freediving at beginner level (2:2): Frenzel
See you soon!
Very nice course
Thank you! I did my best…
Merci
Encore merci de partager
En club, on ne fait pas d’apprentissage de la compensation.
Very nice information.
Thank you!